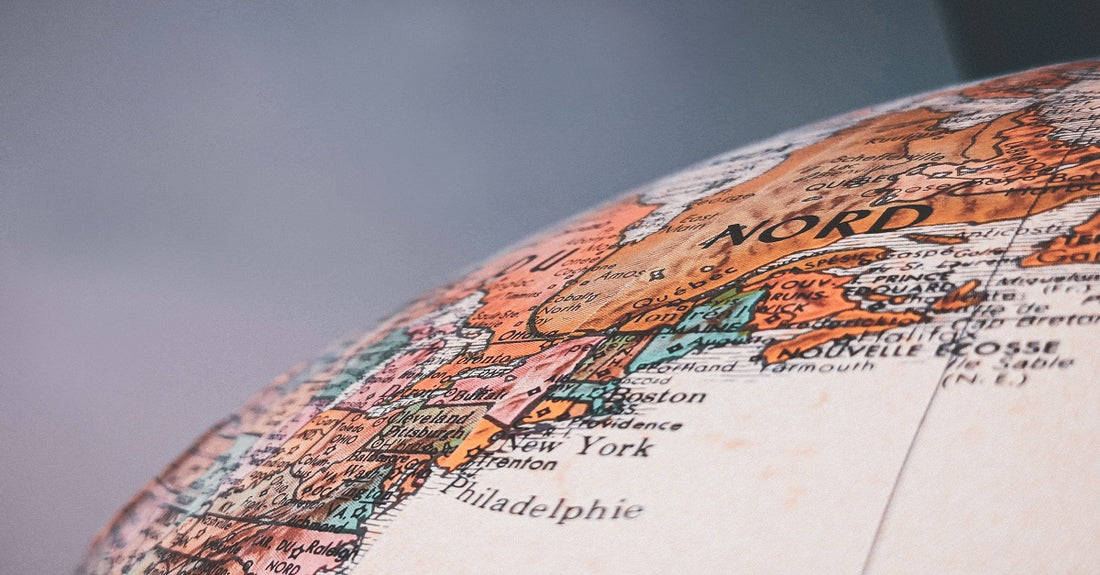
To make it simple, a shipping zone is a scope of destinations, countries, or continents,... of shipping orders that are categorized to bear the same shipping rates. It is a must if you want to start your business on Shopify.
To serve that purpose, we will provide you with well-tailored instruction on how to create a new shipping zone on Shopify and some basic steps to edit or remove it when necessary.
Step 1: Go to Shipping Zones Section
From Shopify Admin, choose Settings and click on Shipping. In the Shipping Zones section, continue to select Add Shipping Zone on the top right.

Step 2: Name the Shipping Zone and Add Countries
Give a name for your shipping zone in the Zone Name box, then choose Add Countries below to limit the countries for the above shipping zone. At this stage, don’t forget to review tax settings after updating a shipping zone because they will decide how default tax rates are calculated.

Once you click on Add Countries, you will see a list of countries categorized into continents. If you select large regions like Europe or Asia, it means that you include every country within them. For excluding particular countries, uncheck the boxes in the list.

If you want to limit the shipping areas to certain places in some countries, choose the Edit button next to the country names. Check the provinces or states you want to include, and choose Done to save the change.

One thing to note here is that some countries may not show separate cities, provinces, or states.
Step 3: Add the Rates for the Shipping Zone
The shipping rates can be customized based on weight or price, depending on your choice. Click Add Rate of the rate type you like and add a manual shipping rate to the zone you’ve created.

After that, scroll down to the bottom and choose Save to save your changes.
The shipping zone is easy to create and easy to edit or remove. If one day, you want to add or remove some countries or regions from your shipping zone (for example, the decision of selling globally requires you to expand the number of countries), or you just simply don’t want to ship to that zone anymore, you just need to open the Shipping Zones section, choose the Edit button beside the zone you want to edit or remove. For removal, scroll down to the bottom, choose Delete Zone and confirm your action to delete it permanently.

For editing, pay attention to the Countries section. If you want to add a new nation, click on Add Country. If you want to remove an existing country, click on the “x” button beside its name. Remember to choose the Save button on the top right to save the update.

Check the shipping rate changes in 2021 and how to cope with that.