Thanks to the convenience as well as a variety of goods, e-commerce has attracted a lot of customers and become one of the most alluring businesses for merchants and shop owners.
To widen more opportunities for you, in this article, we will give some steps to take your store from local to global. Check it below!
Step 1: Determine International Markets
Each country or region has its own purchasing habits, so employing a catch-all approach is not really a good idea. Instead of that, take a look at your sessions by location reports on Shopify, pay attention to buyers from other countries, and decide what products they tend to buy most. It’s one way to find out potential markets and products that you can start selling.
If you haven’t had any international visitors, you can choose the markets that are close to your country or speak the same language as you. For example, if you’re in Vietnam, selling products in China is an appropriate and secure option.
Step 2: Provide Prices In Local Currencies Of Your Buyers
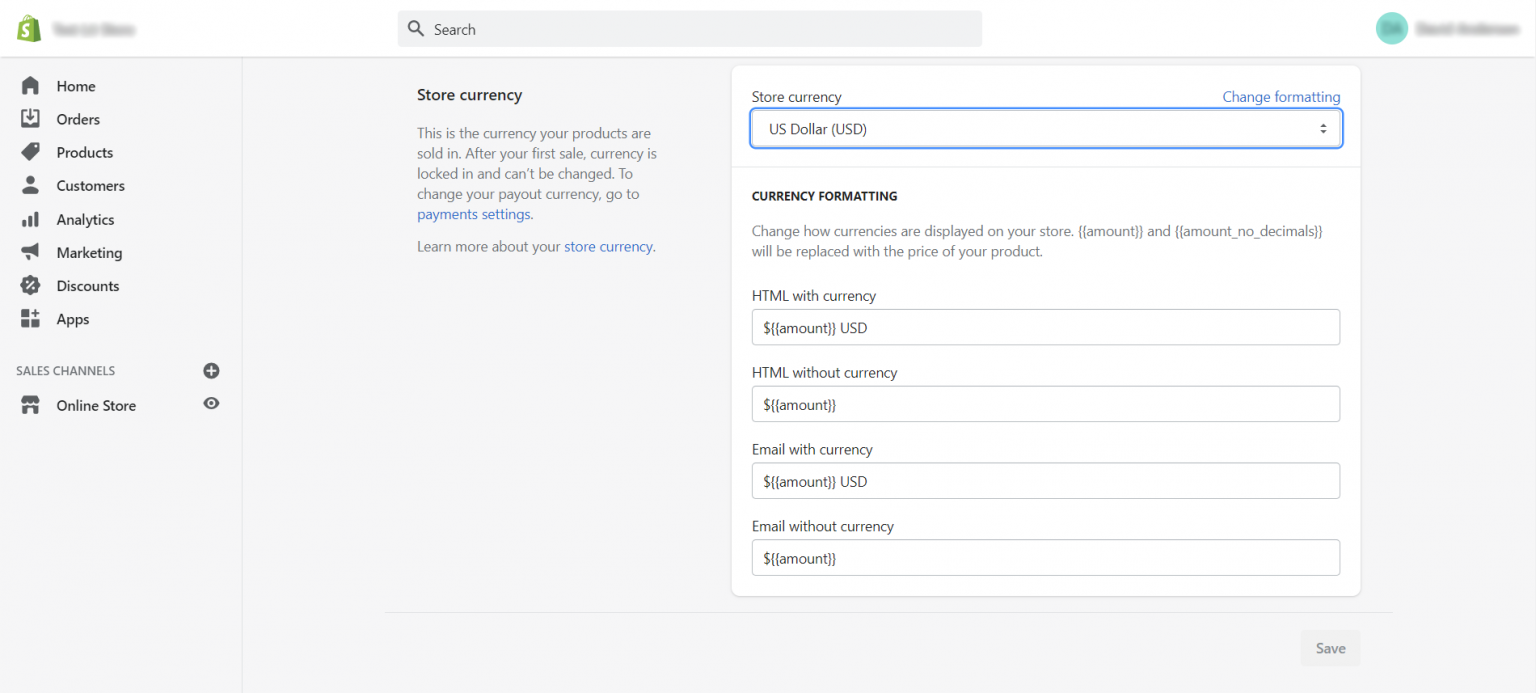
Ensuring that buyers can pay by their currency is very important because no one wants to exchange currencies just to order something. To achieve that, here are some easy steps you need to follow:
- Navigate to Shopify Payments settings
- Click on Add a new country/ region
- Choose the markets that you want to sell
Step 3: Control Your International Pricing
After deciding targeted markets and choosing their currency, move to international prices as the third step.
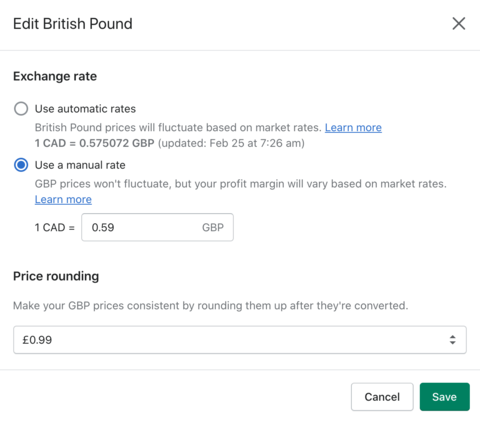
Shopify helps you to convert base prices into your customers’ currency, while also accounting for the currency conversion fees. However, the disadvantage is that when the market fluctuates, the product prices will change as well - and that annoys many potential buyers. They think you set different prices for some particular purposes, and therefore won’t purchase your product.
To avoid that situation, stabilize your pricing by using manual FX rates. You will preselect a suitable rate and your product prices will remain the same until you set another one.
If you use the Shopify plan or above, you can even make your prices up and down for some specific countries or regions.
Step 4: Display Tax
Different countries have different kinds of paying taxes. For example, the North American market doesn’t show tax until the checkout process, while Europe or the Asia Pacific usually involves it in the prices. This cultural difference can sometimes lead to a high rate of cart abandonment.
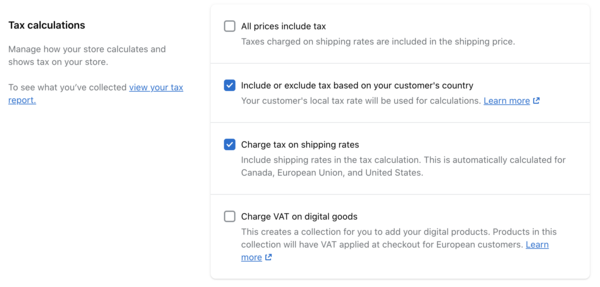
For example, if you’re in the USA and you want to expand your business in the UK with T-shirts as the main product. When buyers see $20 in the storefront, they will expect it to include taxes, so when they see 20% VAT at checkout (as America usually does), it will be a shock to them and make them drop that item immediately.
Step 5: Set Up International Shipping
After payment, shipping is another issue you need to take care of. Here are some issues you had better pay attention to:
Make sure that your chosen shipping carrier ships to your target markets and it’s transparent in terms of the prices.
Use international pricing to increase product prices to make up for cheaper shipping options. Between a $50 item with $20 shipping vs a $70 item with free shipping, what would you like to choose?
Understand whether the targeted regions have tax obligations when shipping to them or not. After all, it’ll be disastrous if your international customers can’t receive their orders because they have been denied entry.
If your products are too heavy to be shipped internationally, stop buyers from buying by using shipping profiles.
Step 6: Translate Your Whole Store
Similar to local currencies and pricing, most buyers prefer e-commerce stores that are in their native language. To satisfy that requirement, consider spending time on translating your store into the language of the targeted market.
To start, choose suitable Shopify translation applications that directly plug into the multi-language section - this is where the translation will be conducted. Most apps allow you to use their trial during 7-14 days, so take your time testing and selecting one that makes you feel most comfortable. After that, click on the Language sections in your admin to enable the language you want.
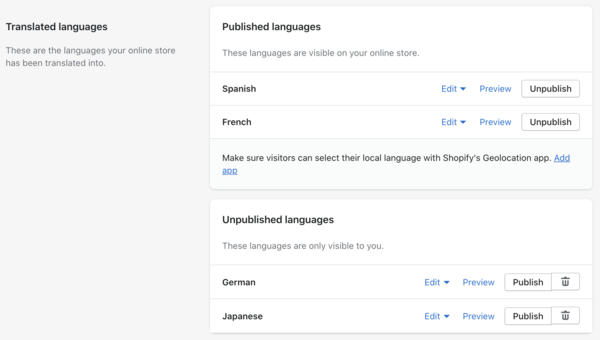
Now you are ready to begin the translation. If you aim at the market where you can speak their language, you can undertake the translation on your own. If not, there are two options for you:
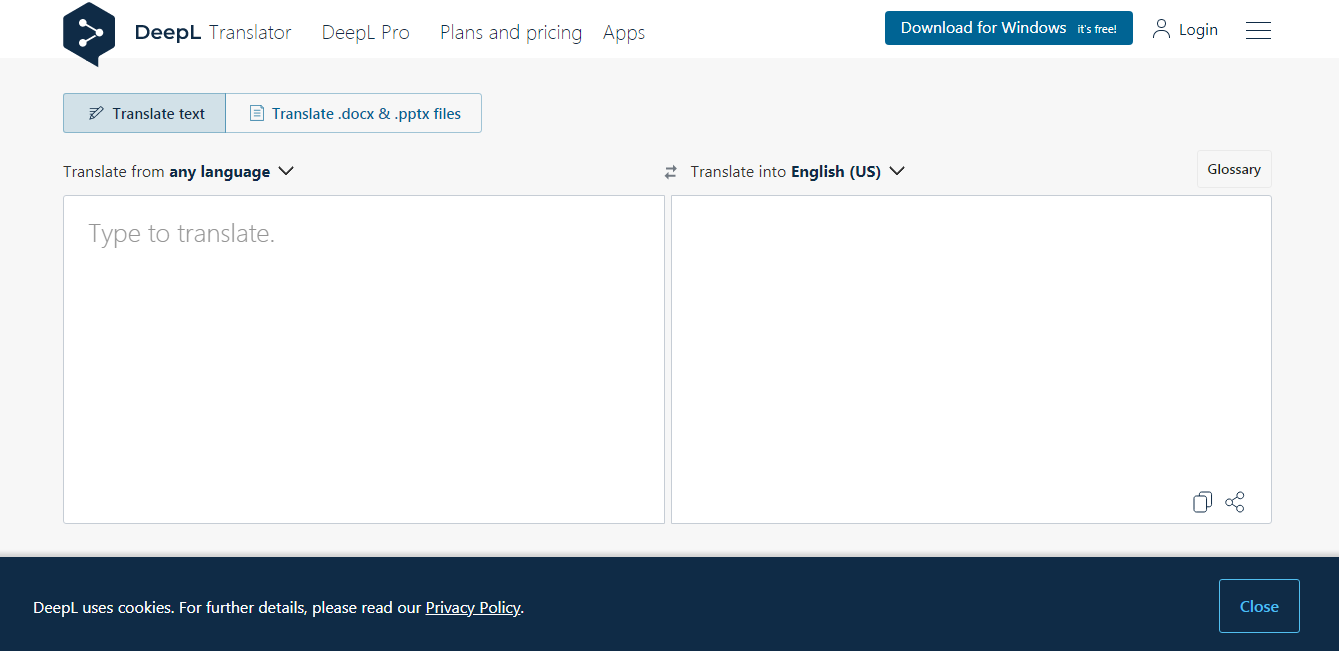
- Use some online tools like Deepl to produce machine-translated content.
- If customers complain about the bad translation quality, browse the Shopify Experts marketplace to hire a person who can manually translate your content. Depending on the amount of content, the free can range from some hundred to thousand dollars.


