Communication is essential to every shop owner: it lets you support new visitors and strengthen relationships with loyal ones. At the same time, you also have to manage the marketing campaign, so jumping from one app to another is such a time-consuming task.
Here comes Shopify Ping - the tool that will keep you out of all of the troubles above. Let’s find out what it is, and how to set it up for your Shopify store!
1. Shopify Ping Overview
As a free messaging app, Shopify Ping can streamline conversations between merchants and customers or staff from one place. You can download this amazing app on desktops by clicking on shopifyping.com or download it on iOS, Android, and iPad mobile devices.
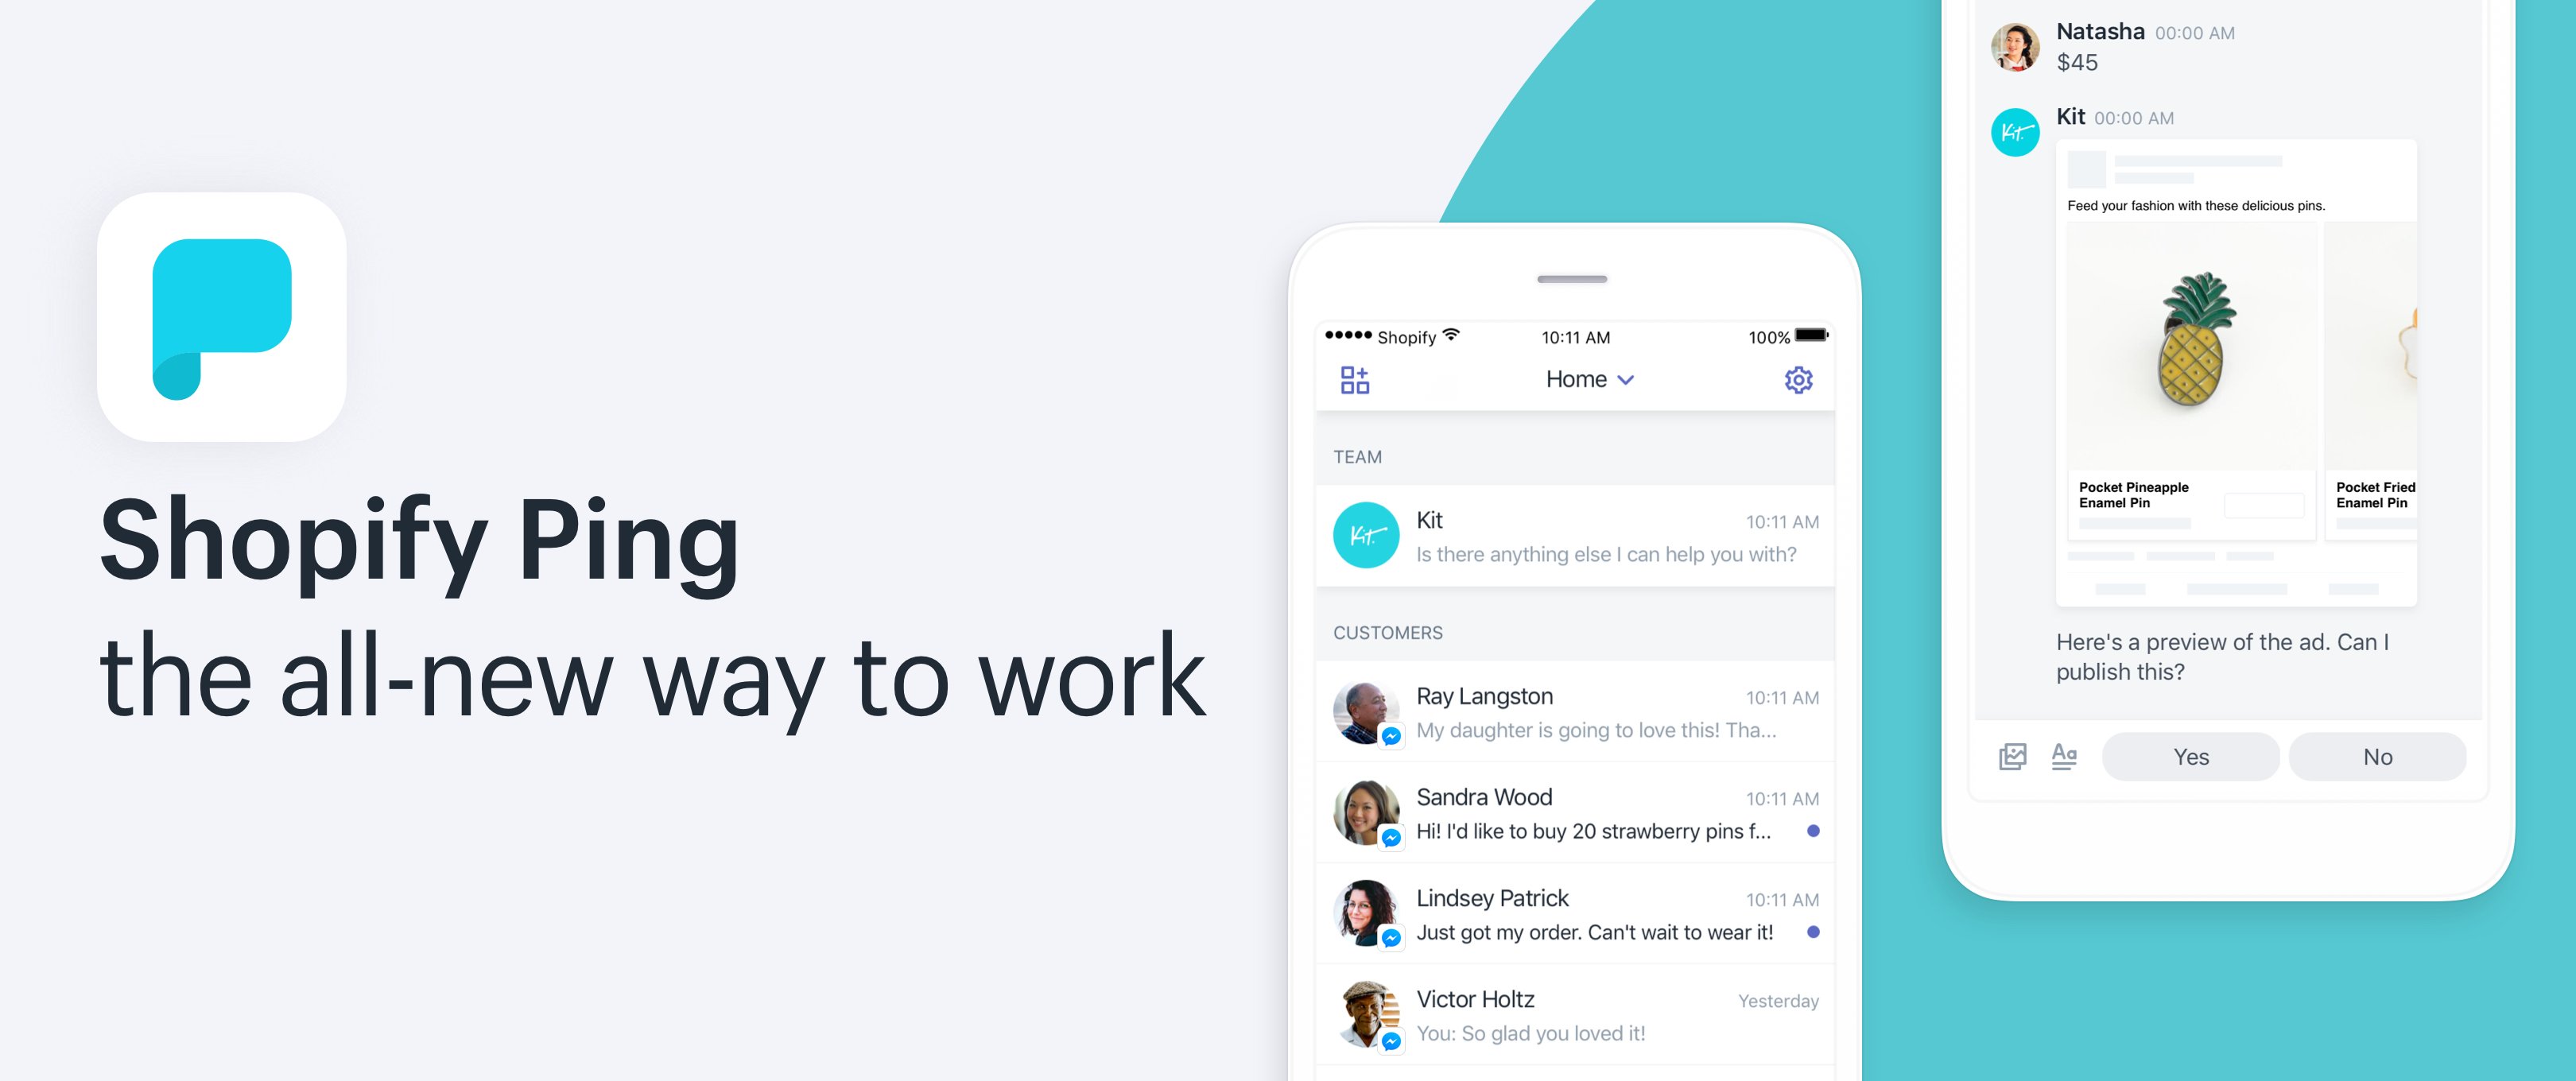
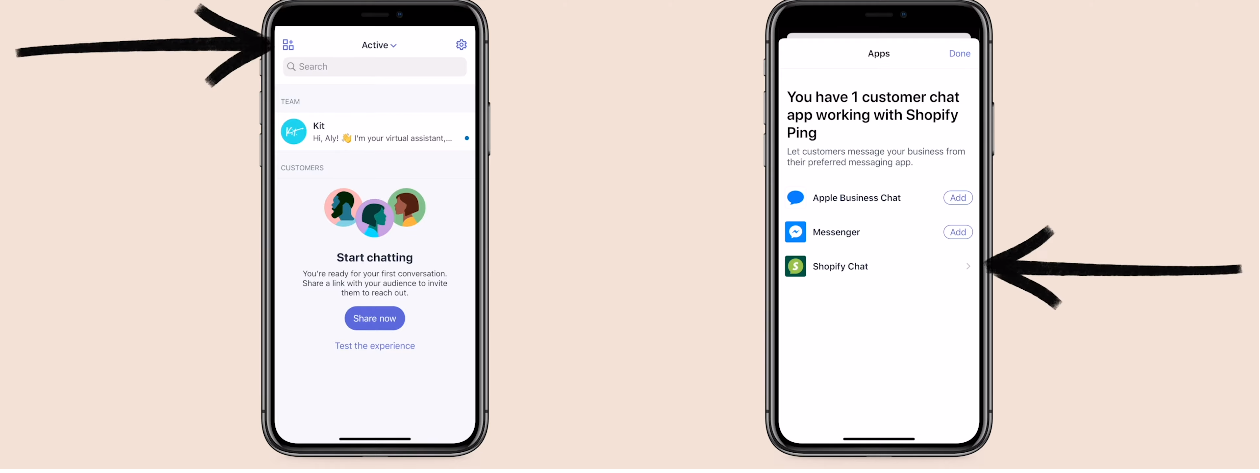
With Shopify Ping, you can manage customer conversations easily through Shopify Chat, Apple Business Chat, and Facebook Messenger. You can even connect with Kit - a free virtual assistant. To decide which messaging channel will be connected to Shopify Ping (except for Shopify Chat, which will be connected automatically when you set up Shopify Ping), you need to tap on the app icon, then click “Add” next to the messaging channel you’d like to connect.
Besides allowing you to talk with customers, Shopify Ping also helps you send images or texts to the staff who have staff logins to your Shopify store.
2. Create Automated Messages & Saved Replies
a. Automated Messages
When you’re not online, automated messages will respond to customers on your behalf. Normally, people will create automated welcome messages to greet customers and encourage them to ask their questions.
To set your automated welcome messages, you need to follow these steps:
- From the Shopify admin, click on “Inbox” > “Saved Response” > “Automated Messages”.
- Choose “Welcome Message”.
- You have two options: use the default message, or make your own message.
- Choose “Save”.
In addition to welcome messages, there also exist follow-up messages and away messages, both of which will be sent during scheduled hours or after visitors send messages to your online store (with the aways messages being sent if the follow-up messages are not active). Steps to set them up are similar to set up welcome messages, but you need to set the follow-up/ away messages to Active after choosing what kind of messages you want to make.
b. Saved Replies
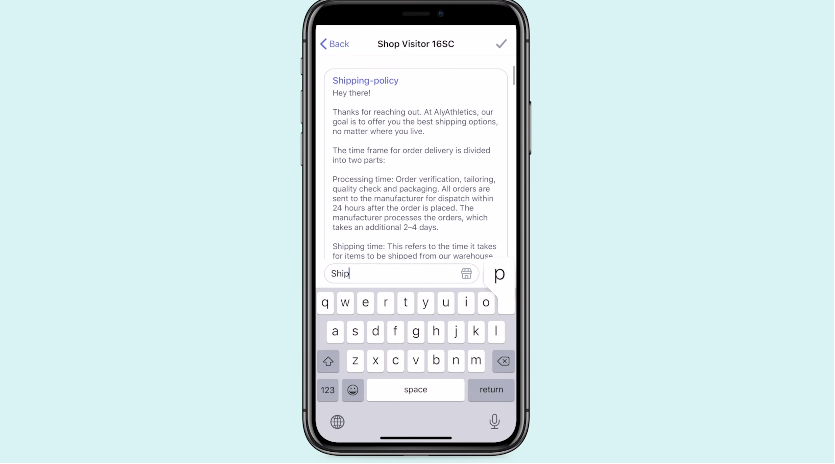
If your customers usually ask about the same subject (such as the shipping policy), you can create saved replies to answer them faster:
- Click on the gear icon > “Saved Replies”. Here you will see all of your current save replies.
- To create a new one, click on the plus icon, fill in the shortcut field with keywords (such as “shipping-policy”) and write the message in the message field.
- Choose “Save”.
Now back to the conversation, type the shortcut “shipping-policy” and you will see the full saved replies. Tap the reply, click Send, and the question has been answered just within a second.
3. Send Product Link/ Discount Code To Customers
a. Send Product Link
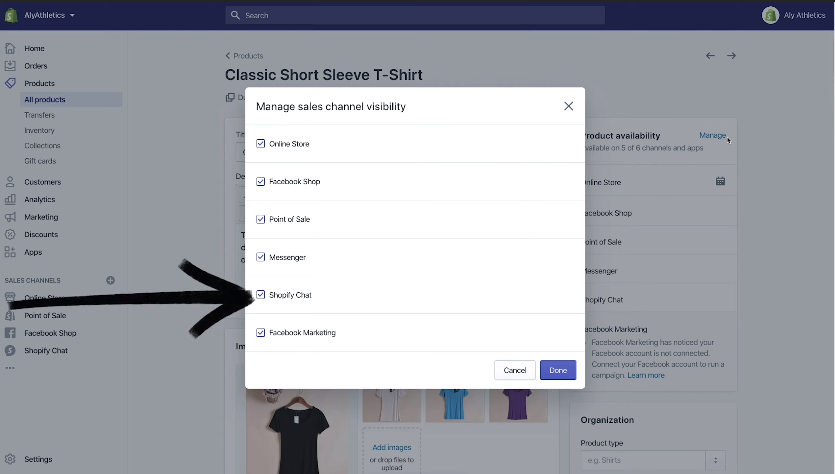
First of all, you need to make sure that your products are available on the chat sales channel by selecting Shopify Chat/ Apple Business Chat/ Facebook Messenger.
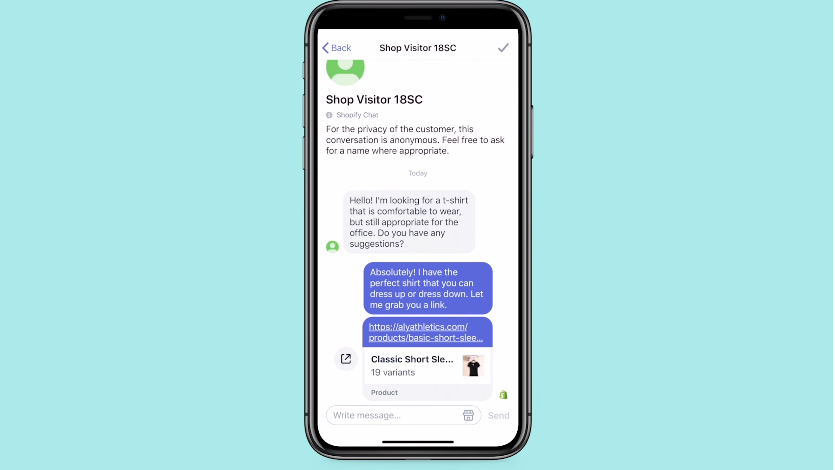
After that, you send product links to customers on Shopify Ping with the following steps:
- From the conversation window, click on the store icon > “Products”.
- Scroll the list or use the search bar to look for products you want to send. You can choose at least three products.
- Click on “Share Product”.
b. Send Discount Codes
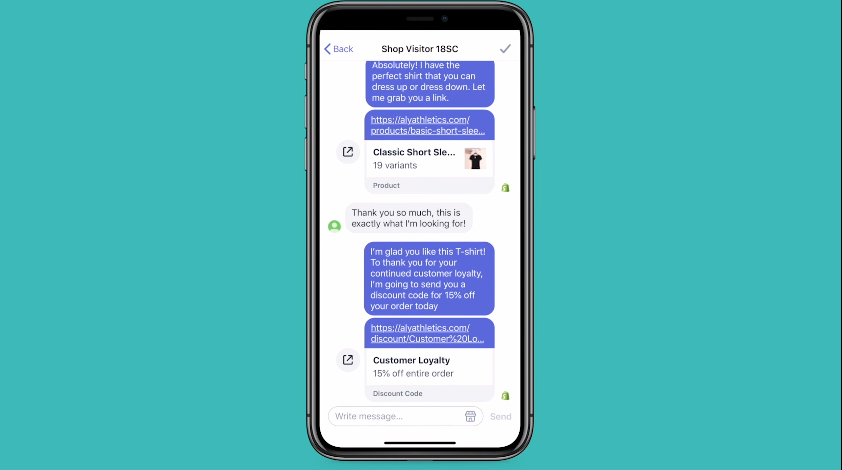
Once customers click on the discount codes, the codes will be automatically applied to their cart. Here is how to send the discount codes to your customers:
- From the conversation window, click on the store icon > “Discounts”. You will see a list of discount codes there.
- Choose the discount codes you want to share.
- Click on “Share Discount”
Besides Shopify Ping, POS is another great function of Shopify. Let’s discover Top 5 Best Shopify POS Apps!
