It’s no secret that conversations are crucial to the e-commerce business. In fact, 70% of the conversations through Shopify Inbox successfully persuades customers to order the items they’re interested in.
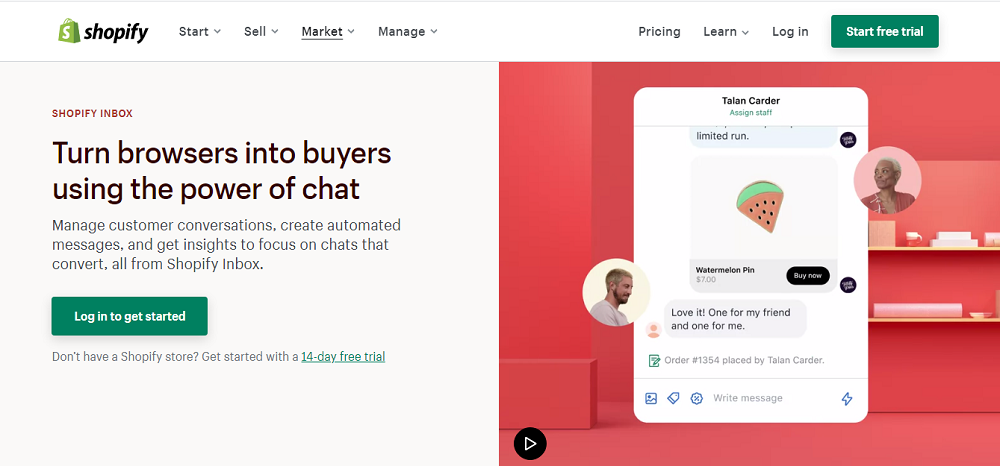
Understanding the power of chat, Shopify has introduced Shopify Inbox (previously Shopify Ping and Shopify Chat) to help merchants turn browsers into buyers. Check out the article below to understand more about this new feature!
1. What Is Shopify Inbox?
With all of the online customer interactions in hand, Shopify Inbox will set up a single mailbox so that you can manage customer conversations easier and more conveniently. In addition to that, Shopify Inbox also provides users with conversation analytics, helps them set automated responses, and lets them customize the chat appearance on their online store. Customers can chat with shop merchants no matter what messaging channels they’re using, from Facebook Messenger to Apple Business Chat.

Shopify Inbox could be used to interact with your team staff as well. As long as your team has staff logins to the Shopify store, you can send images or text to them whenever you want.
At the time being, you can download Shopify Inbox on Android or iOS mobile devices. For those who normally work on desktops, Shopify Inbox is available at shopifyinbox.com.
2. How Can It Help Online Merchants?
a. Streamline Your Chat Management
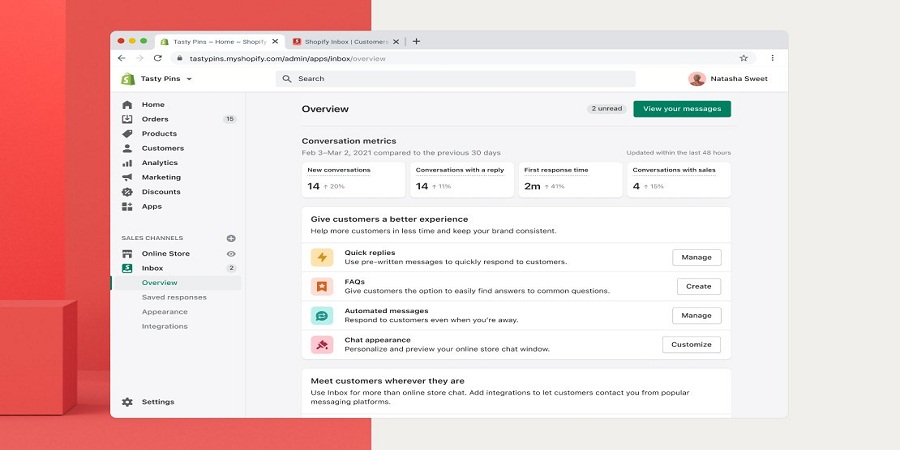
Shopify Inbox streamlines your chat management from a single place and shows you conversation metrics of how impactful chat is. Thanks to that, you can come up with a suitable plan for the growth of your business in the future.

Once Shopify Inbox is opened, there is a snapshot showing your chat performance (which contains response time, conversation volume, and the number of chats converting to sales). As an admin, you can also see a real-time counting of unseen messages so that you won’t forget to respond to them.
b. Connect With Customers Through Different Channels
People don’t reach out to you from the website’s chat only - there are a lot of channels for them to choose from. With Shopify Inbox linked with Facebook Messenger, Apple Business Chat, and Instagram (in the near future), you can connect with potential customers at any time and from anywhere. Besides, the integration of Shopify with Shopify Inbox also makes it possible for you to send discounts and products to customers in chat, turning conversations into checkouts just at the speed of light.
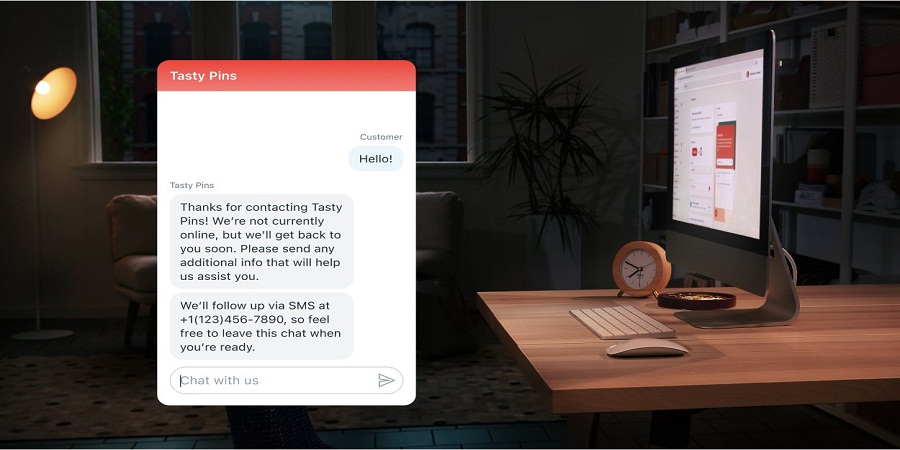
Even when you’re not online, Shopify Inbox can automatically collect customers’ contact so that you can start the conversation through email later. You don’t need to worry about missing sale opportunities anymore!

c. Prioritize The Most Potential Conversations
Along with providing customer support, chat is currently a powerful tool to speed up your sales. Shopify Inbox helps you recognize buyers with high intent and offers them personalized recommendations thanks to its ability to know which items they have added to (or removed from) the shopping cart. It is also promised that developers will soon classify chat for you, so you can instantly know if the messages are about sizing, shipping, inventory, or past order even before opening them.

3. Basic Tips To Use Shopify Inbox
a. Enable/ Disable online store chat:
- Step 1: In the Shopify Admin, click on “Inbox” > “Appearance”.
- Step 2: In the section of “Online Store Chat Visibility”, click on “Visible” to enable or “Not Visible” to disable online store chat.
- Step 3: Click on “Save”.
b. Customize the chat button: Customizing the chat button makes it match your theme, therefore increasing the visual attraction for your online website.
- Step 1: In the Shopify Admin, click on “Inbox” > “Appearance”.
- Step 2: Click on “Online Store Chat Styling”. Select a location of the chat button with the “Position” drop-down menu.
- Step 3: Choose a color for the chat button in the “Color” field.
- Step 4: Click on “Save”.
c. Create Saved Responses
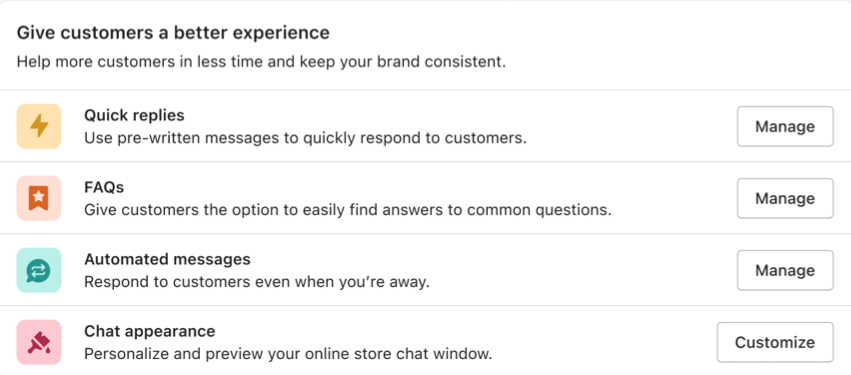
Shopify Inbox allows you to create three kinds of saved responses, which are (1) automated messages (messages displayed or sent when you’re not available), (2) quick replies (custom shortcuts for frequent phrases in the conversations), and (3) FAQs (questions frequently asked by customers so that they can click on to view the responses at any time).
To create saved responses, go to the Shopify Admin, click on “Saved Responses” and choose the kind of replies you want to make. The “Create” button appears when there aren’t any saved responses on your account, while the “Manage” button shows that there is at least one saved response for that message type.

d. Respond to Customers’ Messages
- Step 1: In the “Shopify Inbox”, click on the “Customers” tab.
- Step 2: Choose the conversation you’d like to respond to.
- Step 3: Type your responses, then click on “Send”.
e. Send Product Links/ Discount Codes in a Conversation
Note: You must create the discount code before sharing it. Besides, product links and discount codes could only be sent through the Shopify Inbox app, not if you’re using a desktop site.
- Step 1: In the “Shopify Inbox” app, click on “Customers” and choose the conversation you’d like to share.
- Step 2: Click on the “+” icon to expand the options.
- Step 3: Click on the price tag/ discount icon to see the list of products/ discount codes.
- Step 4: Use the search term to find a product/ discount code and tap to choose it. You can choose no more than three products to send to customers; and if the discount code is invalid, there will be an error message requiring you to update the code of your Shopify store.
- Step 5: Click on “Share Product”/ “Share Discount” to finish.

